Night Photography Tips For Beginners

Every year, when I had to take photographs at night, I fell more and more in love with the photoshooting at this time and the depth of color that night style of photography can offer. Therefore, I had a desire to share with you today some tips for night time photography. Also I would be pleased to read your thoughts about this magical style of photography which became one of the lifestyle fashion photography trends in 2018.

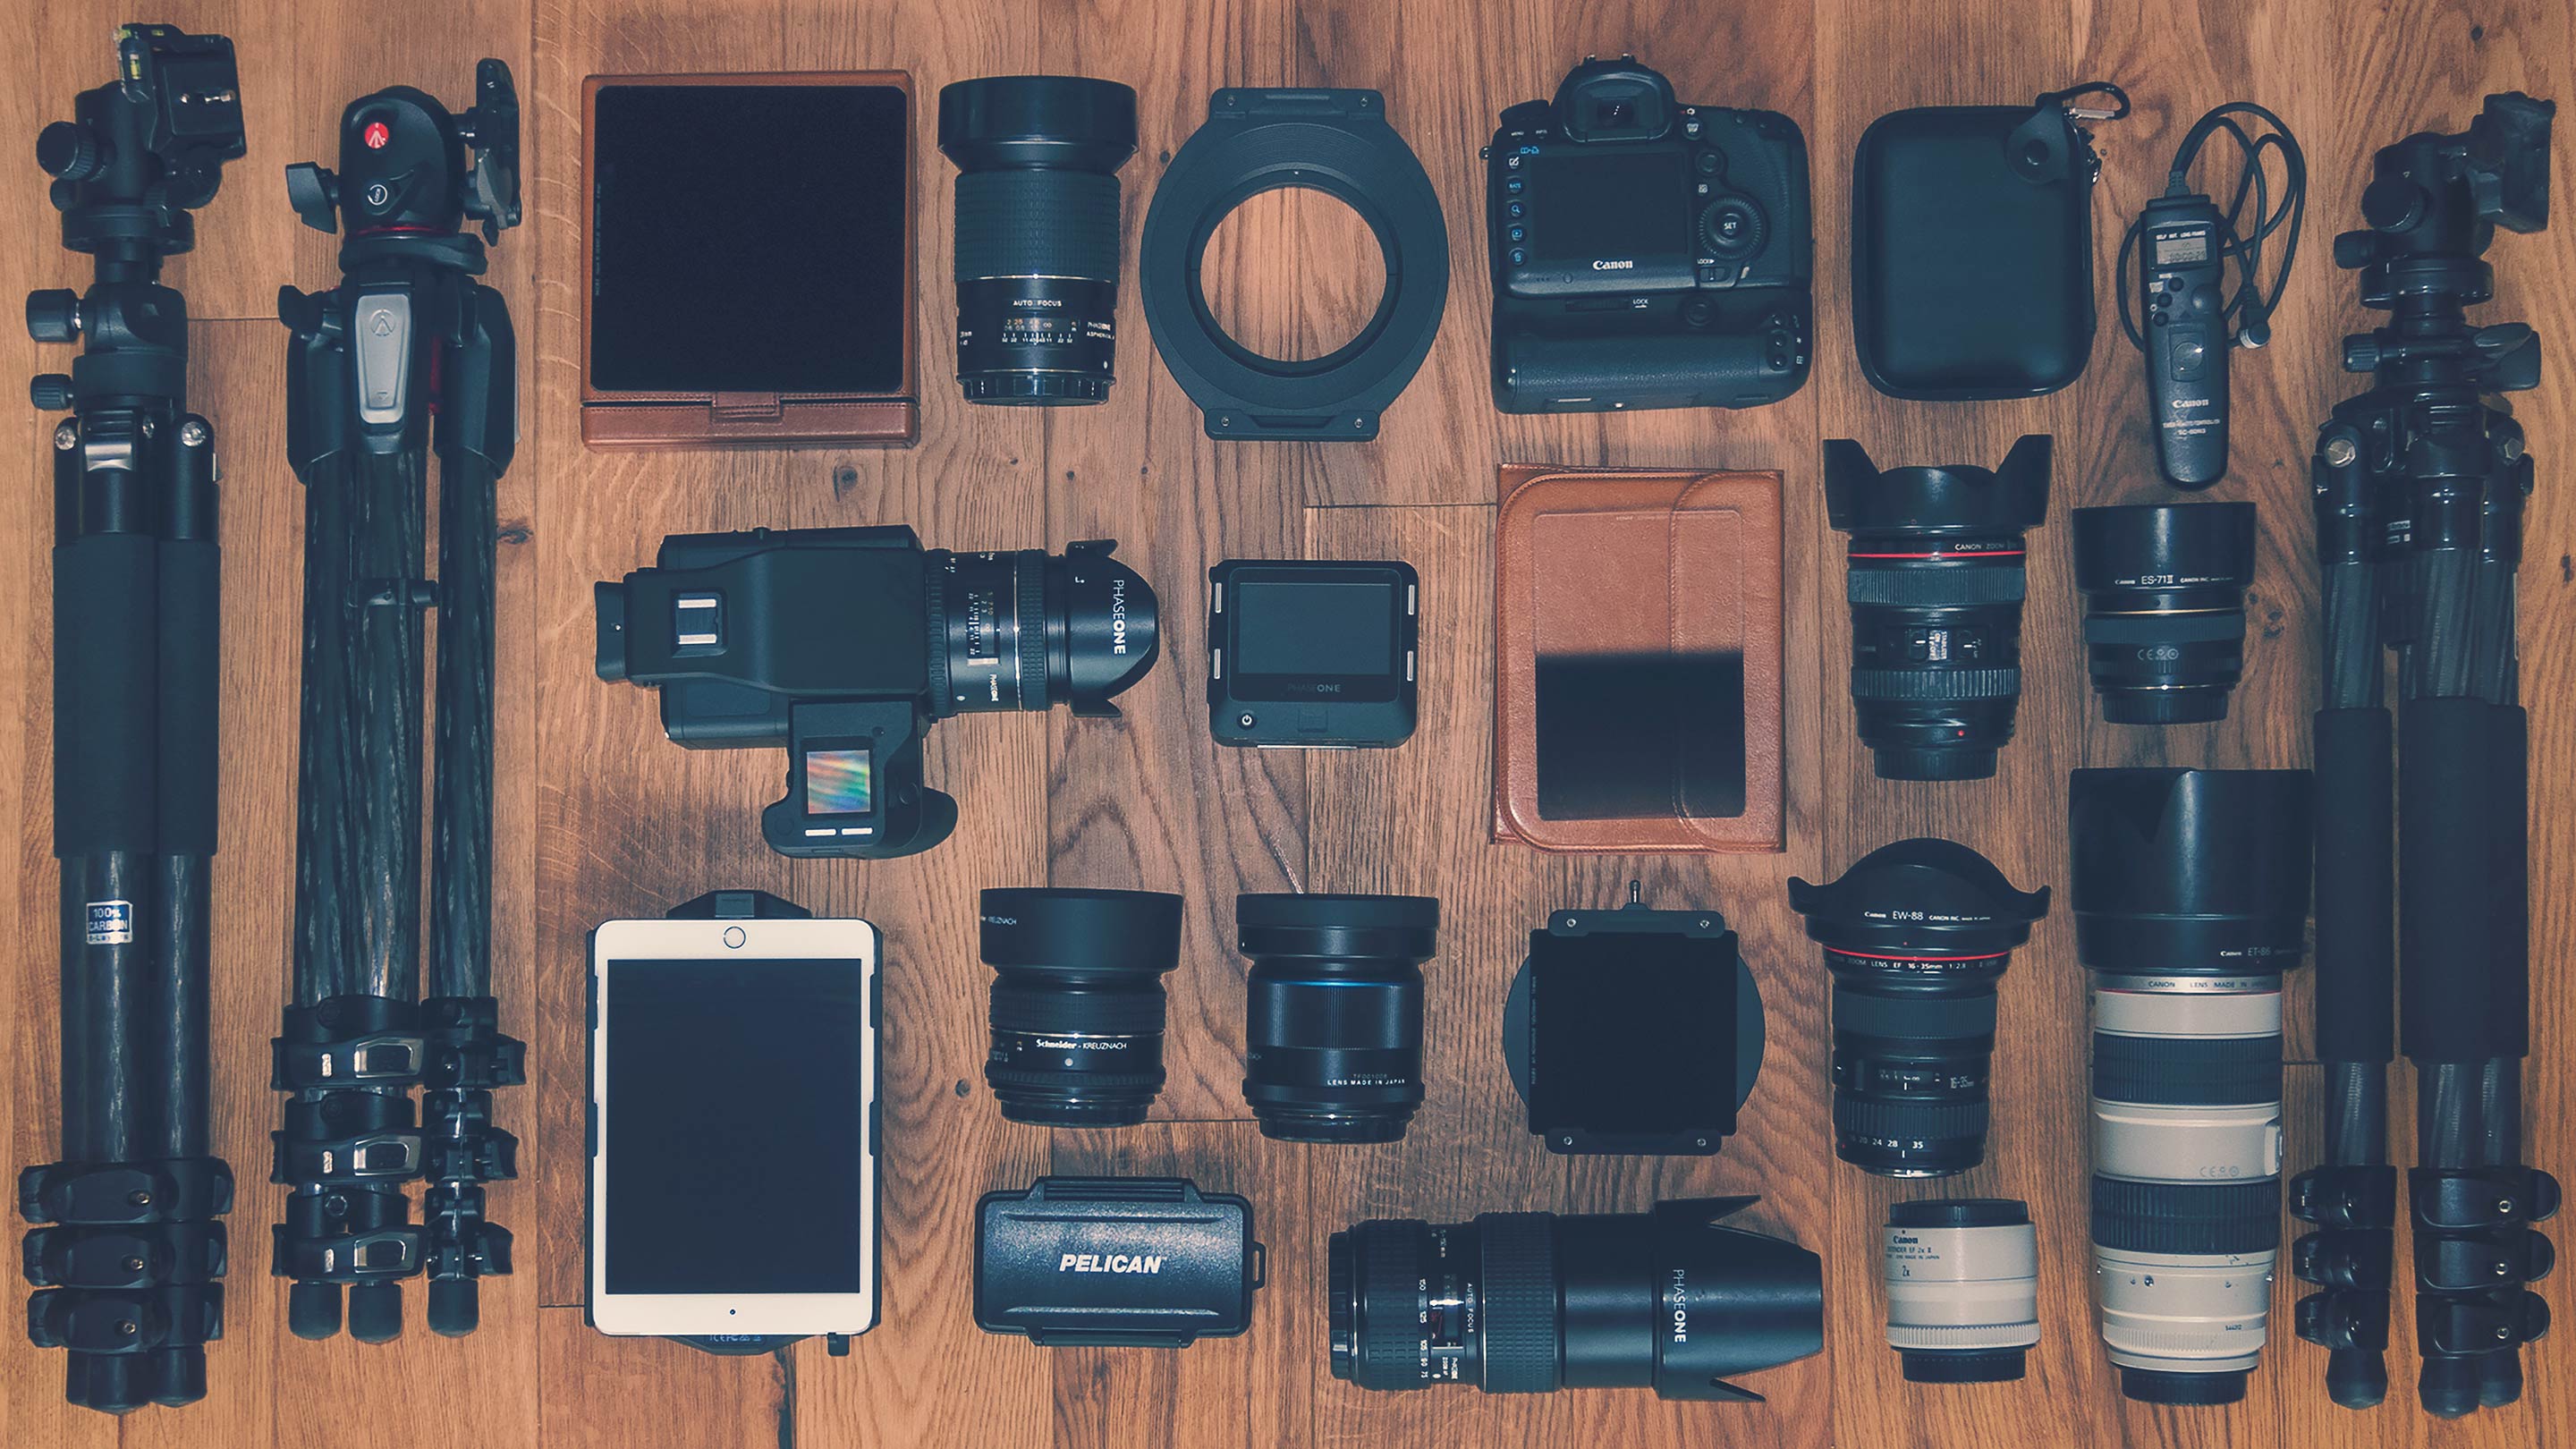
Night photography gear
The photography equipment will help you partially answer the question "How to take night photos?", which is an integral part of night photography. Below I will list the equipments that you may need for a night photo.
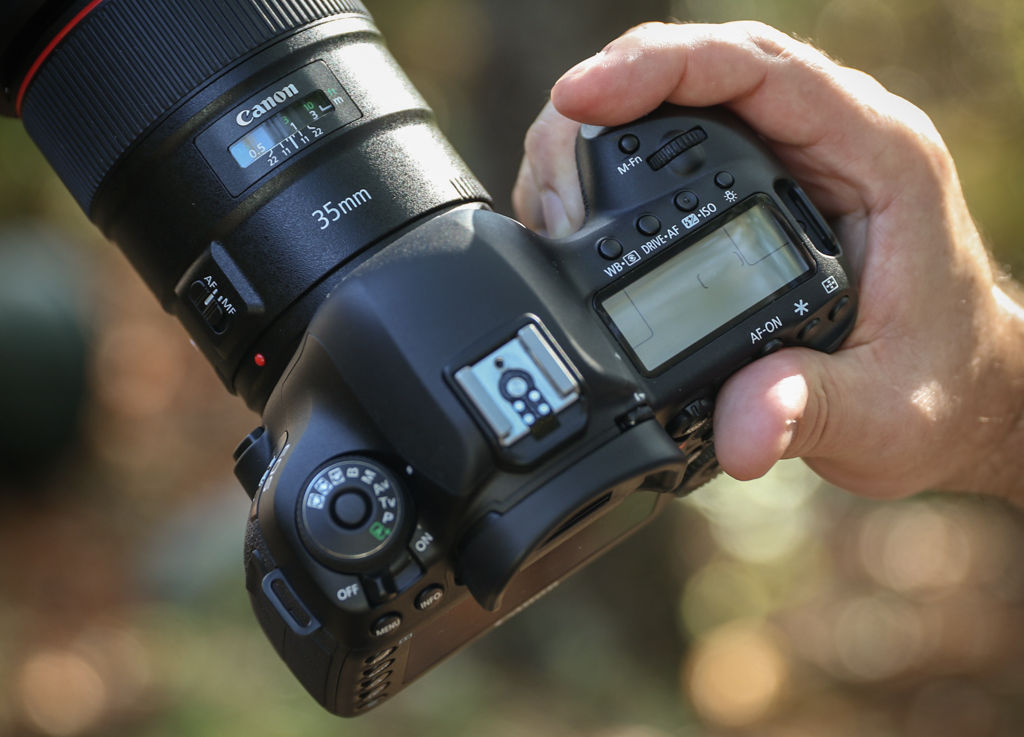
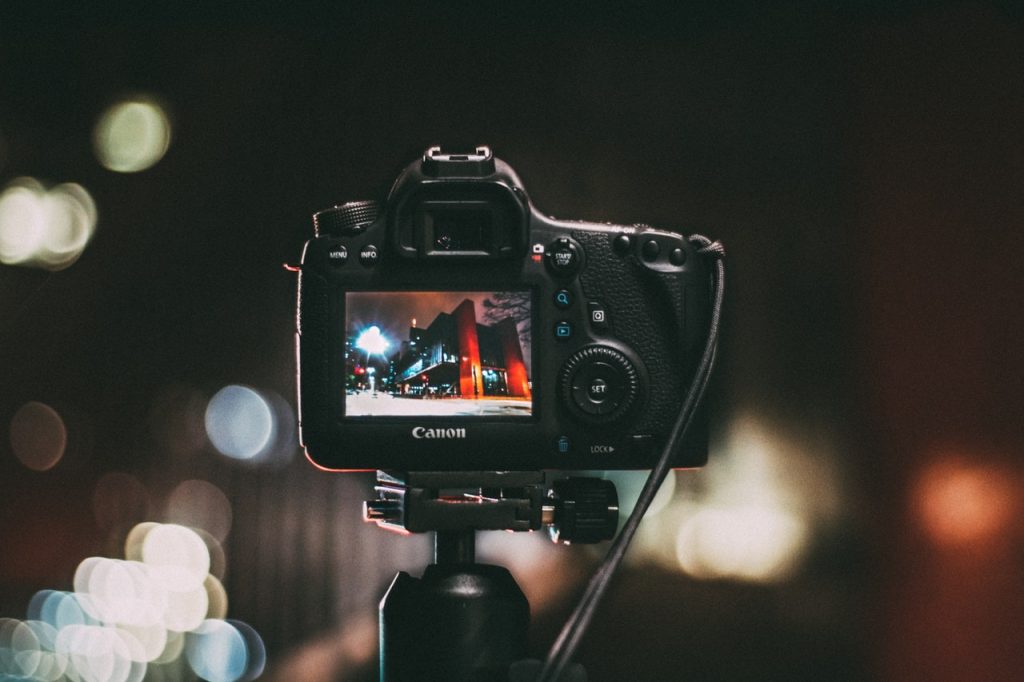
1. Suitable camera
Unfortunately, not any camera will be suitable for night time photography. One of the main things is that the camera can provide you with enough opportunities:
• The camera for night photoshooting must have a manual night time photography settings so that you can independently change the exposure and white balance. Also you should have the possibility of manual focusing, since the autofocus often misses at night.
• It is important to be able to take images in RAW format, so you will reduce the noise to a minimum and you will have a much larger opportunities in post processing.
• Of particular importance is also ISO. It's not so important what is the maximum value has your camera: 12800 or 25600, if already at 800-1600 you get noises. Therefore, it would be nice to check your camera for photosensitivity.
• And it's natural that your camera should have a long exposure so that you can capture as much light as possible on the night photography.
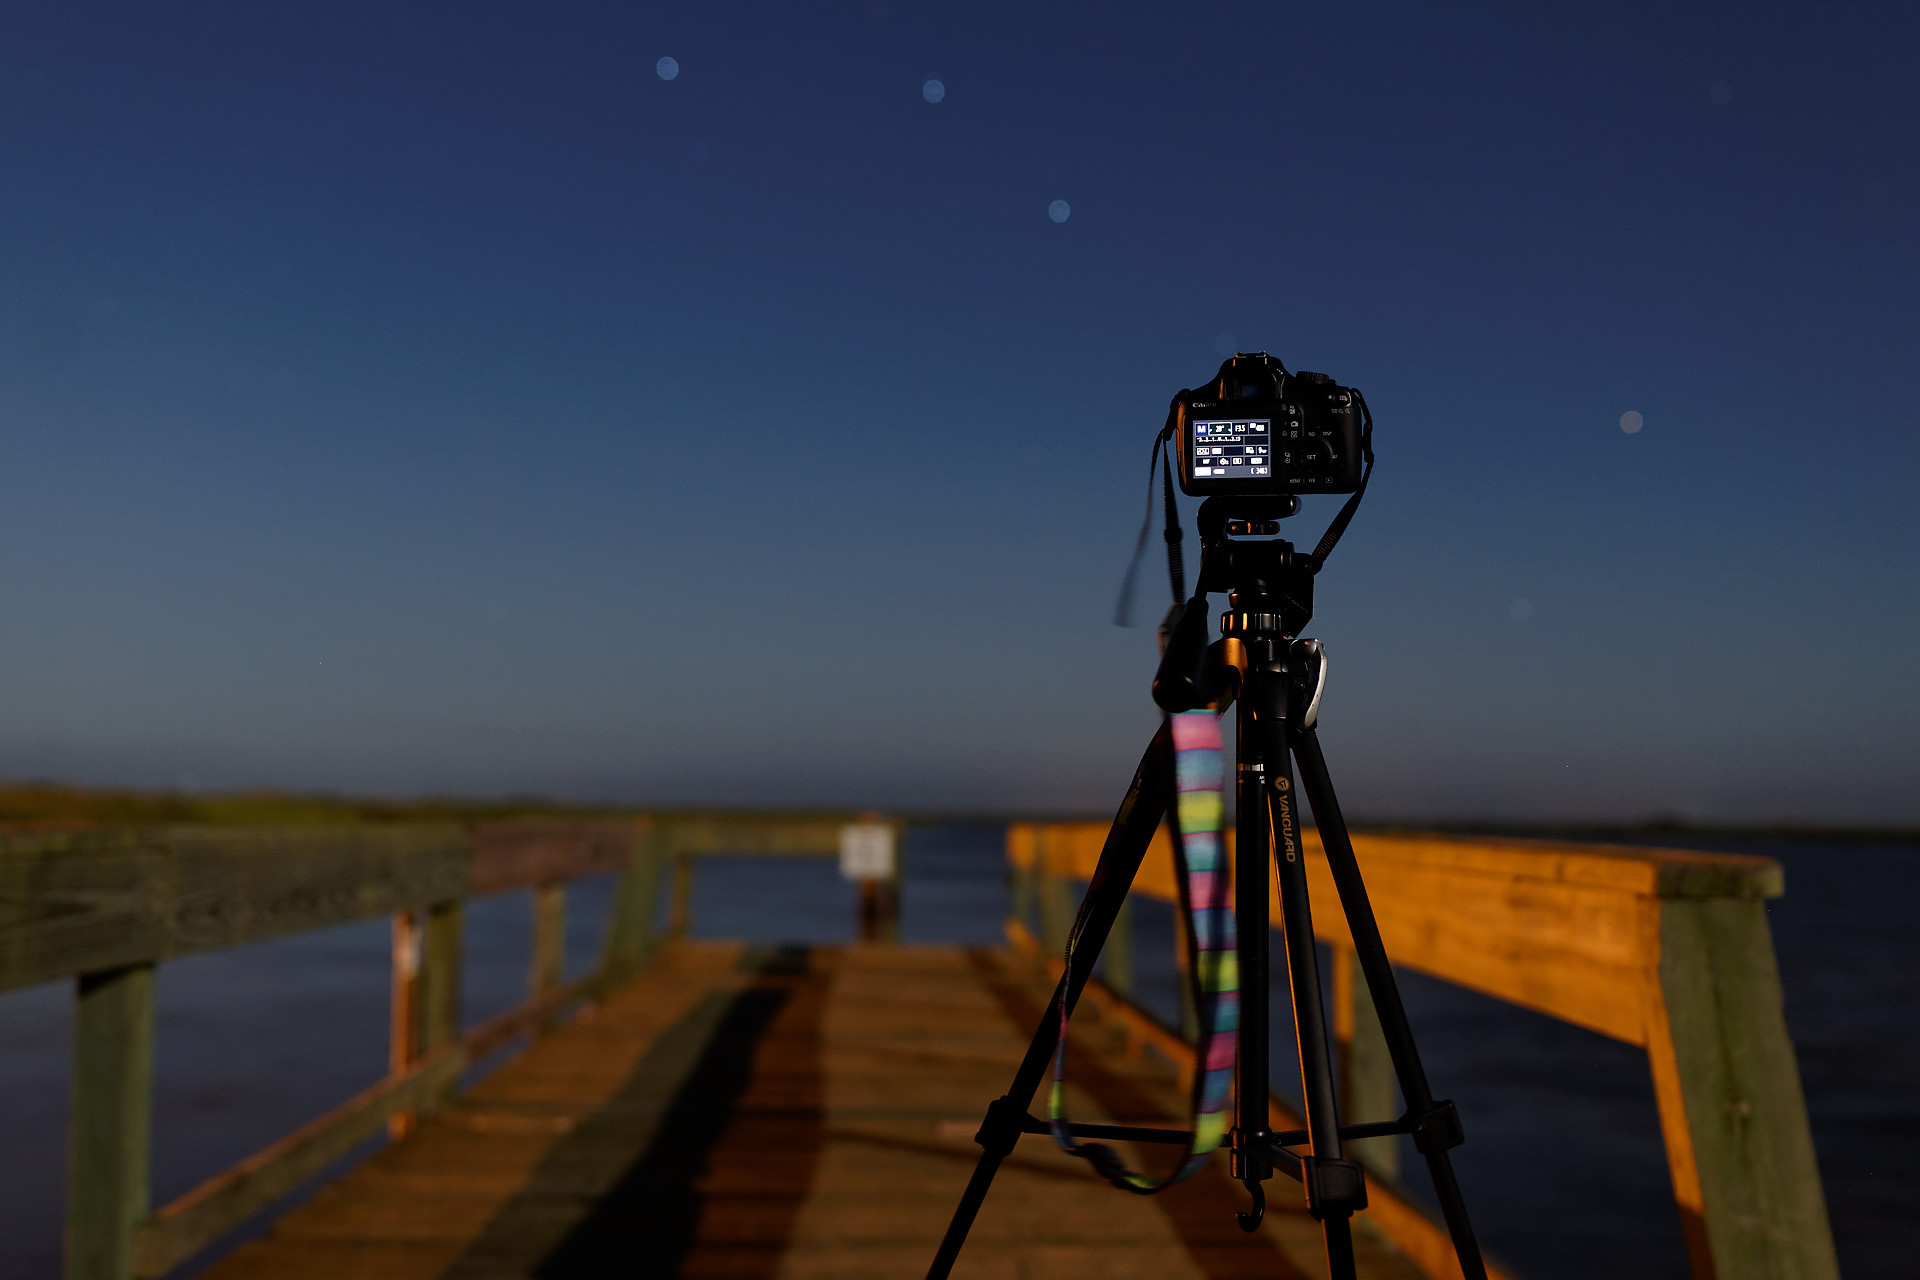
2. Tripod
I think you've already guessed to get a tripod with you to ensure that your camera has a stable position and doesn't shake when using a long exposure. Most famous night photographers use tripods made from carbon for maximum stability. If you plan to take photographs at one location and you can afford to buy such a tripod, then this will be an excellent investment.
 But if your night time photography is not limited to one location or you can’t spend a lot of money on a tripod, you can buy less cumbersome and expensive. Because each time fold the tripod when changing the location can be difficult and limit your mobility.

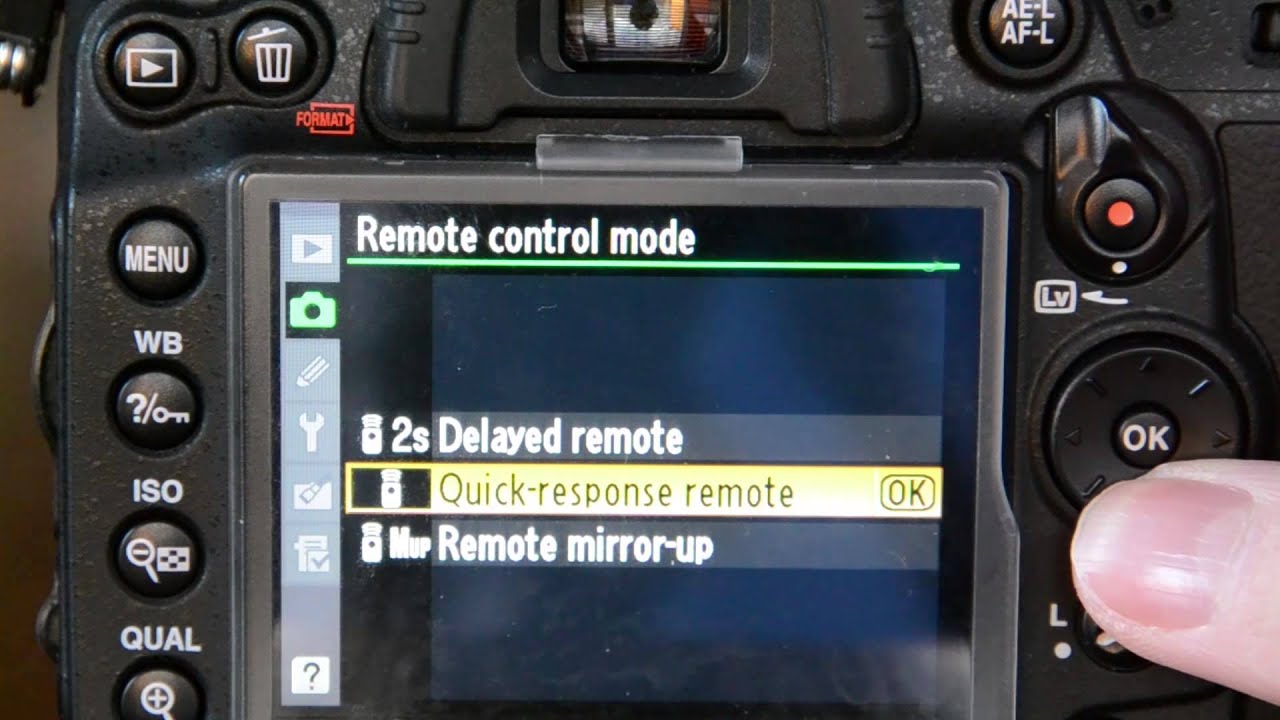
3. Remote control or timer
In order not to touch the camera and don't move it during a long exposure, many modern night photographers use a remote shutter, especially when taking night photography. Remote devices are relatively inexpensive now. And in the modern cameras, which have a Wi-Fi, you can use your smartphone as a remote shutter by downloading a special application.
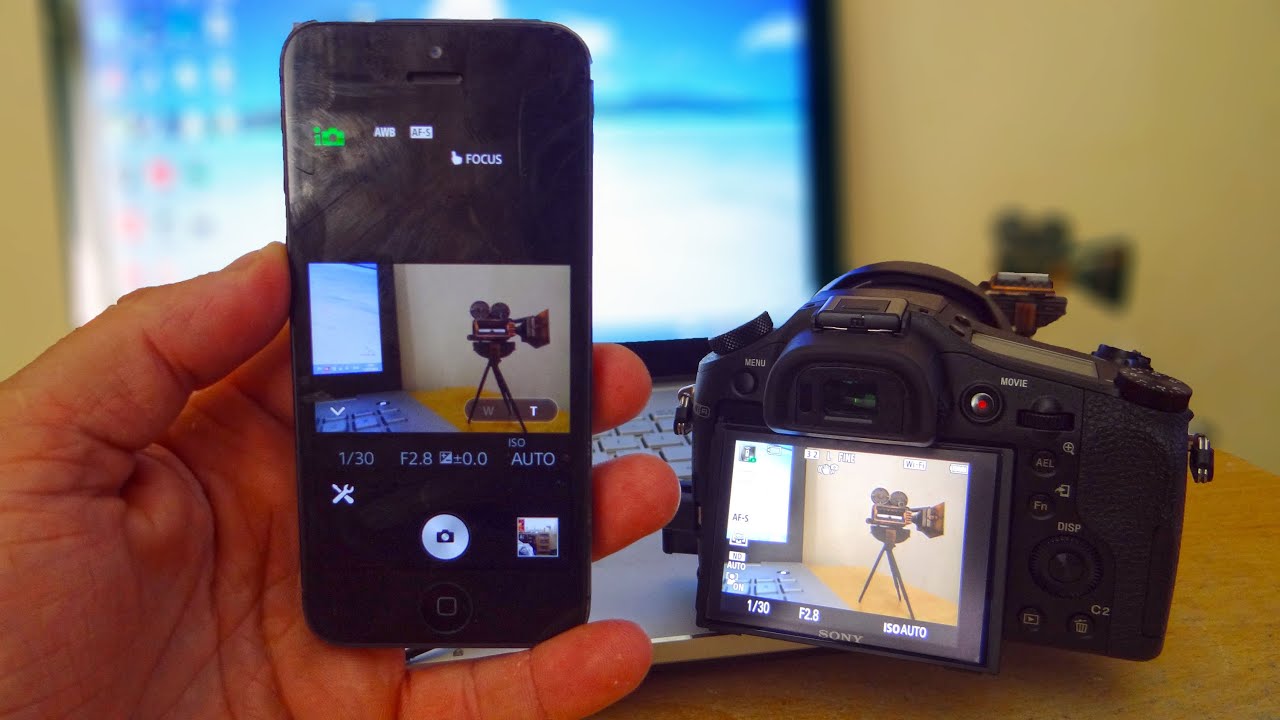 In addition with it, you can adjust the shutter speed, aperture and focusing, while away from the camera. But if your camera doesn't support Wi-Fi or you don't want to spend money on the remote control, you can always use the timer: select the desired angle, set all night time photography settings, focus and select 2, 10 or any other delay.
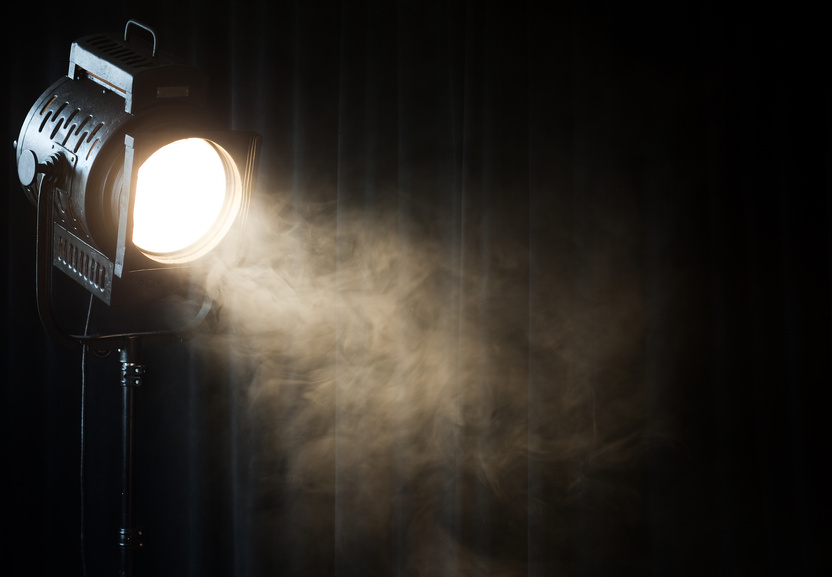
4. Using additional lighting
Synonymous with night photography definition can be called the extreme contrast and intertwining of very dark parts with bright lights. Yes, if you photograph in RAW, some of these problems can be removed when you edit photos in the editors. But you will agree that it is always better to prevent problems before photoshooting. So, an excellent solution is using off-camera flash at night. Unfortunately, the ordinary flash will be a weak option with a limited range.
 Therefore, for high-quality filling, I recommend using a large flashlight or even a searchlight. You don't have to use it all the time, just point to the places you want to make lighter during the exposure. Of course, when using additional light for the first time you can’t avoid mistakes, but you will save a lot of time in photo editing. Apply black and white photo retouching to get rid of all lightning mistakes and let the photo be amazing.
5. Booster or spare batteries
The use of a long exposure is inevitable at night photography. And this, in turn, will lead to a very rapid discharge of the camera battery, especially if you don't have the newest model. Also, you will often seek help from the Live View, which also affects the battery discharge rate.
And of course don't forget about the cold seasons, when the low temperatures don't leave batteries for your cameras no chance. The simplest solution is to buy a booster or a few extra batteries. Therefore, before you go to night photography, make sure that you have a spare power source and it was charged.

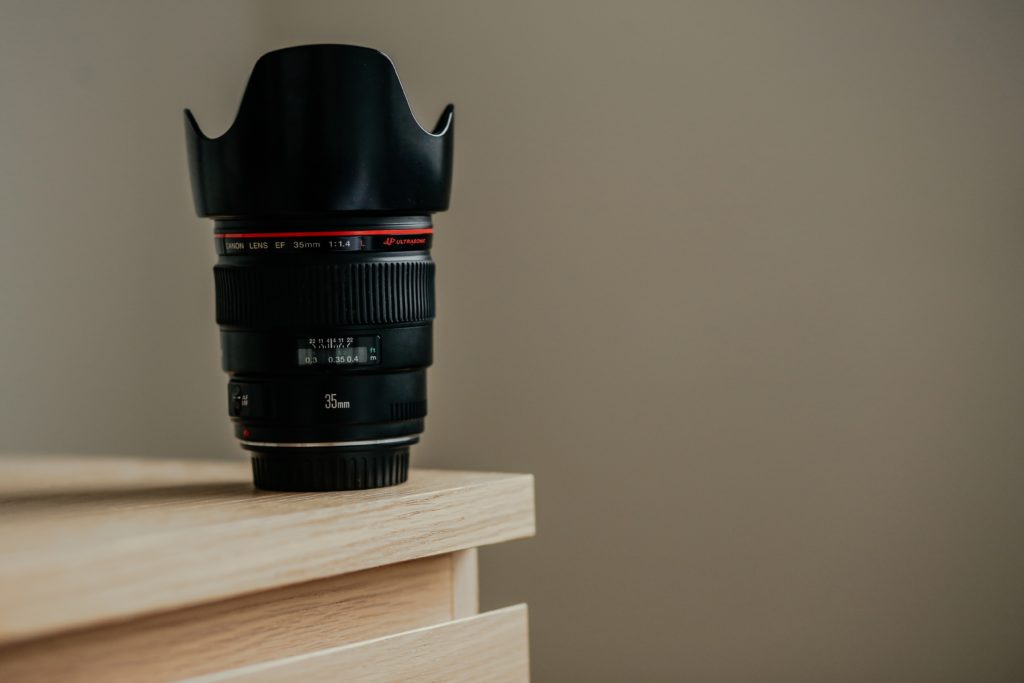
6. Protection from flare
Sometimes at night time photography there are harsh conditions in the form of strong light, which spreads in all directions. It can get to the side of your lens and lead to flare it, which is highly undesirable. In this situation can help a lens hood, which was designed specifically to protect against flare. Also, if you don't want to wear a blend all the time in a bag, and it's not comfortable to carry on a lens, you can simply put it on the lens in the reverse position.
Night time photography settings
Many people who wonder “how to photograph at night?” think that it can be difficult. But this is only at first glance. But in fact, everything is a little simpler. To help you in this style of photography, below I left 5 tips for how to take night photos.

1. Necessarily manual mode
In order to have more control into your hands and the automation didn't do unnecessary things, I recommend at first that everyone switch their camera mode to "M". At your disposal will be all night time photography settings: exposure, aperture, white balance and so on. In addition, in manual mode it is easier for me to take night photos than in others.

2. Take something to give stability to the camera
An integral part of any night time photography is a long exposure, a minimum of 10 seconds. I'm sure that you can't manage to hold the camera in your hands for 10 seconds and get a clear, not blurry image. Therefore, you need something, to give stability to the camera. A tripod is great for this. In the worst case, the camera can be put on something, a stone for example, so it will stable during the exposure time that you set.
3. The aperture should be as low as possible
The well-known night photography technique is that the smaller the aperture, the more light you get into your camera, which is extremely important when taking photos at night. But each lens has its own values apertures. And it may be that your lens has a minimum f/5.6, or maybe f/2.8 etc. Also, many are tempted to take photographs with a large aperture, about f/11 or even f/16 to capture the entire landscape. In that case, try to find something in between.

4. 10 seconds for the shutter is enough
The shutter speed directly depends on the illumination of the place, so in some cases you will need to choose various shutter speed. But I recommend choosing 10 seconds, as this is the best value for getting good night photoshoots. If this seems strange, then one day I spent as much as 30 minutes for one image, selecting the right shutter speed.
5. Choose enough value of ISO: 800 or 1600
As with the aperture, you will need to find the golden mean when choosing ISO in the case when you want to take night portrait photography without flash, for example. Yes, the higher the ISO value, the brighter your photo will be, but at the same time there will be more noises on the photo. Modern cameras can take good photographs at 800 or 1600 ISO.

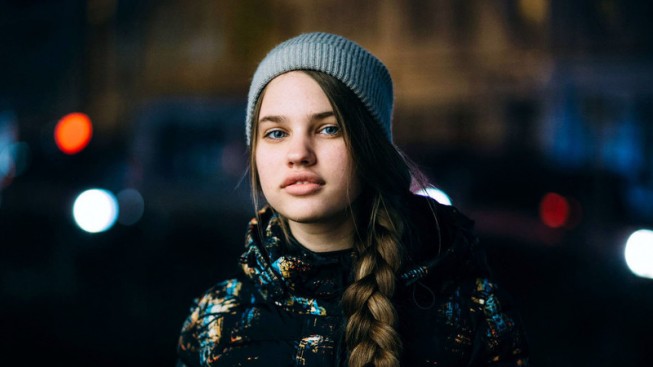
How to make good night photography portraits
In order to ensure that your experience in photoshoots will help you equipment is not limited to only daytime photos and you didn't lose the opportunity to take interesting photographs, we have prepared for you 7 night photography tips which can help you to understand how to photograph at night.

1. Try Night Scene Mode
Above we have already described the advantages of manual mode. But if you still think that you can't cope with it, then in modern cameras there is a night scene mode, it is usually depicted with stars or the moon. It makes the exposure longer, but the flash fires too. And also you should not forget that the camera and the model in these modes should not move.

2. Help your camera's focus
At night, the automatic focusing of your camera can significantly deteriorate, since in the dark it is more difficult to find an object for this. So if you are an auto focus lover you need to help it find the object to focus on. You can use a flashlight, flash your smartphone or a focused beam. In such cases to can go into manual focusing and use Live View, increasing the images for a more accurate focus. I use this night photography technique too.
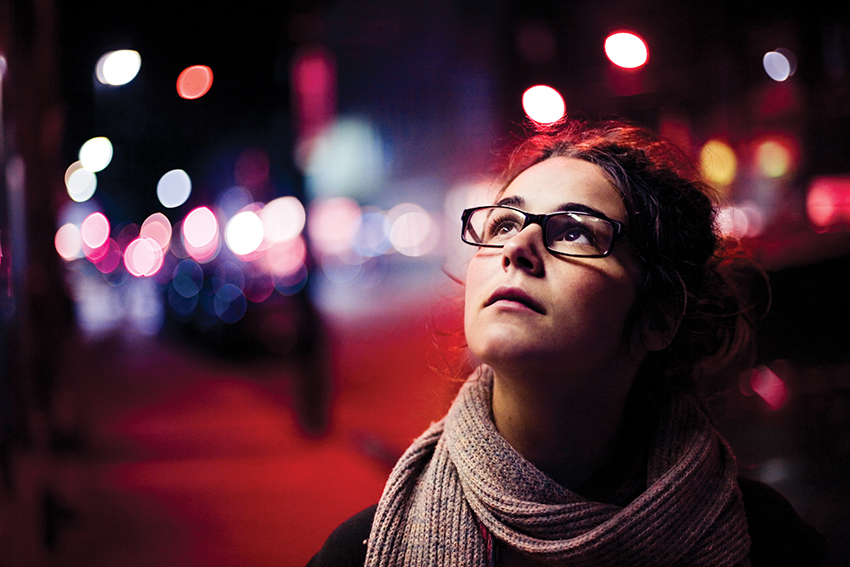
3. Choosing backdrop
A good background plays a big role in night photography portraits. Try to find an interesting background, it can be a shopping center building, a bridge or just a street. The main thing is that there were many lights, because if you use a low aperture you will have an excellent bokeh. At night photography, the background also needs a long exposure, so take a tripod with you and try different ISO values.
4. More light
If you see that there is very little light at the place of photosession, first reduce the aperture, but don't touch the shutter and ISO, especially if you don't have a tripod with you, and at 800 ISO you have serious noises. But if the diaphragm didn't help, you can resort to more exposure, but then you need to make sure that your camera and model are in a sustainable position. Yes, the more ISO - the more noise, but sometimes there is simply no choice, so if you still don't have enough light - increase the value of ISO.
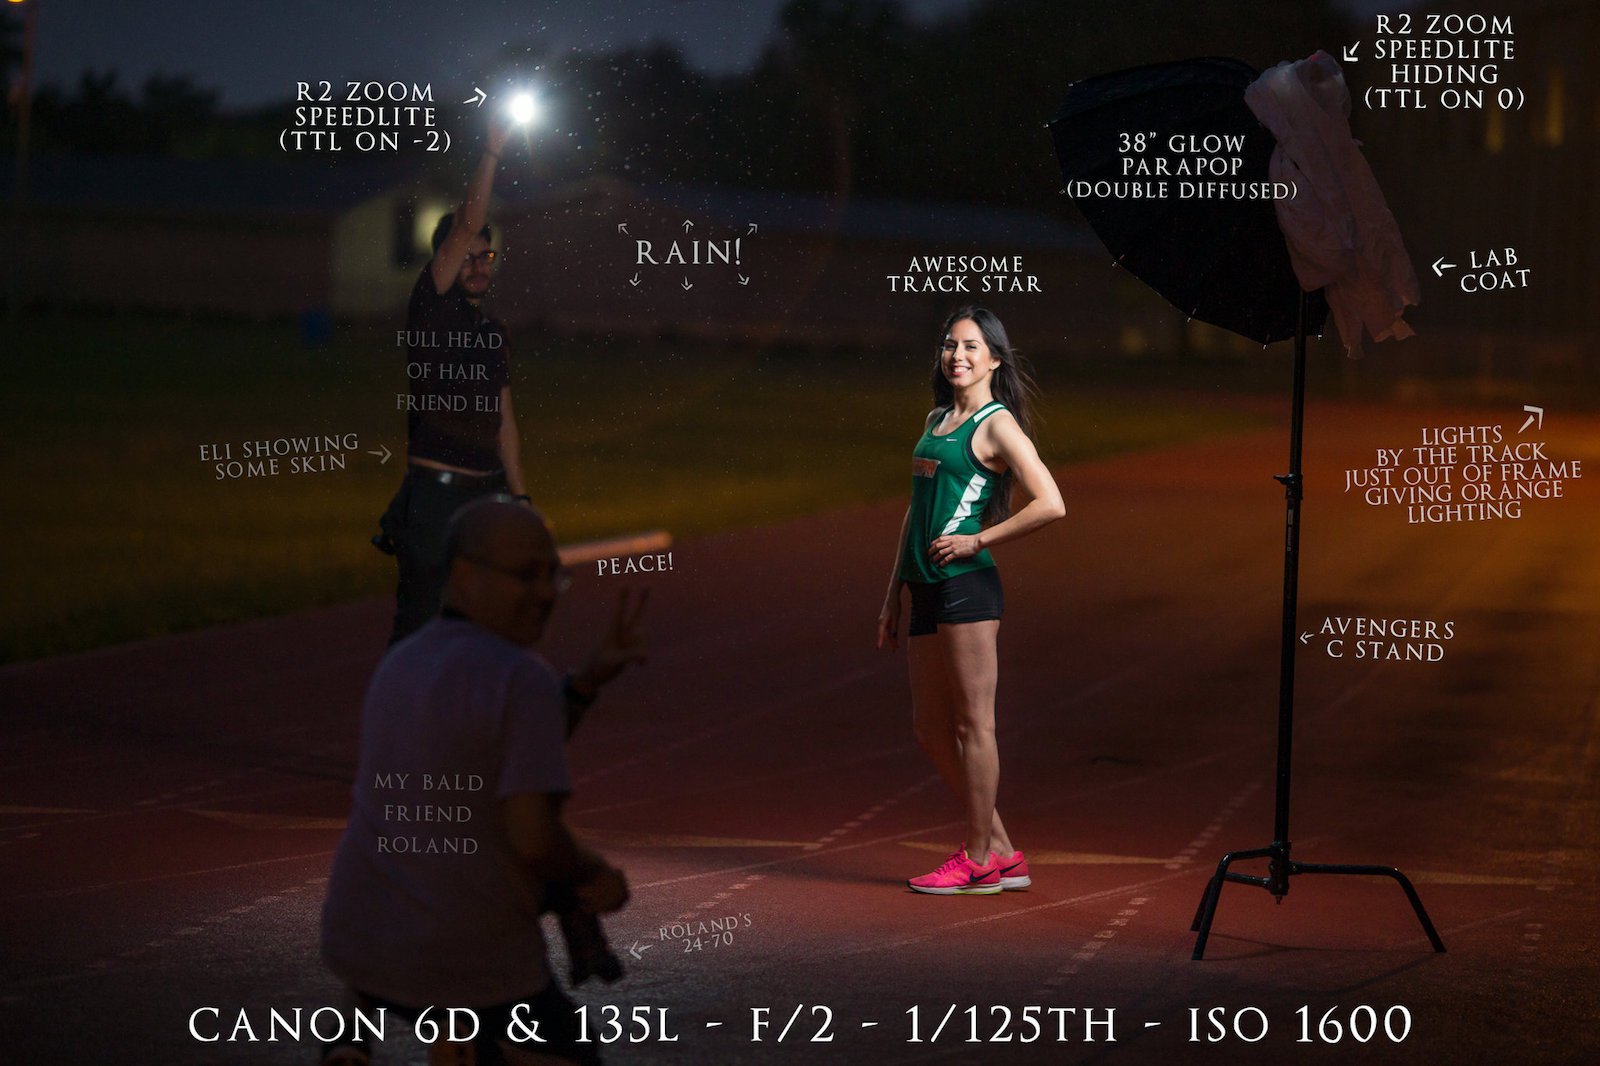
5. Gently use the flash
Very often, taking flash photography at night outdoors, I have to resort to using an external flash or monolights. But often their light is very strong and tough as for a portrait. Therefore, I reduce their power to a minimum so that the light is softer. If even at the minimum power, the flash still makes overexposures, then an excellent solution will be to diffuse the light with a diffusion cap or softbox. And if this also doesn't help, you can simply move the light source away from the model, but be careful, as this can change the quality of light.

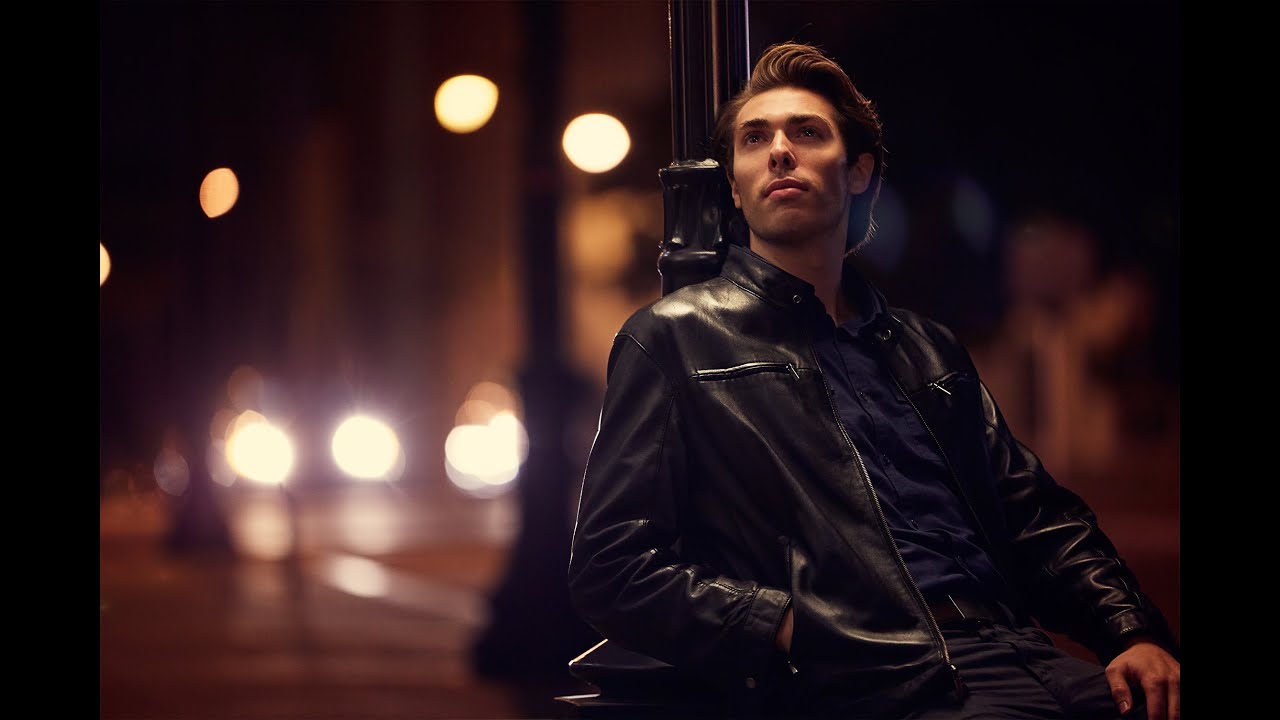
6. Separate the model from the background
When I take portraits in the daytime, the Sun and its light, which creates a separation between the background and the model, help me. But if you want to achieve the same in a night time photography, then you need to find additional light in addition to the flash or use a flashlight. This will help focus on the model and separate her from the background. But at the same time, as soon as you have a focus on the model, the person with the flashlight must move away, so that there is no mixing of lights and there are no overexposures.
7. Different color temps are a bad idea
If you used the sixth night photography technique and found additional light, then be careful. It is very important to avoid mixing light with different color temps, because during post-treatment you will have more troubles. Therefore, I recommend to take night photography away from street lights, since it will be difficult to find the overall proportion with them, since you can’t control it.
 In This article I shared with you my night photography tips so now you understand how to take night photos. Also, now you know what equipment you need to use when taking photos at night and what night time photography settings to choose. But these tips will not make sense if you don't test them. Therefore, at the first favorable moment, go out and make beautiful night photos. Also I will be pleased if in the comments you leave your advices, which I probably didn't name and share of how to photograph at night in the best way in your opinion.
Like and share the post

You are welcome to rate this post
The post's average rating:
|